How to set up your camera, light and sound for client calls
Light, sound and framing matter more than a 4K webcam. A practical, budget-first call setup for designers who meet clients on video.
Most designers spend real money on a monitor and a laptop, then show up to client calls through a grainy built-in camera, lit from behind by a window. The client cannot see your screen quality. They can see your face, hear your voice and judge how prepared you look. For freelancers and small studios, the video call often is the first impression.
The good news is that a professional-looking call setup is cheaper and simpler than most gear guides suggest. Light matters more than the camera, sound matters more than both, and a few placement choices fix most problems for free. Here is how we would set it up, in the order that gives the biggest improvement for the least money.
Start with light, not the camera
Every webcam, including expensive 4K models, struggles in poor light. Small sensors add noise and smear detail when the room is dim. Before you buy anything, fix the light you already have:
- Face the window, do not sit with it behind you. A window behind you turns you into a silhouette, because the camera exposes for the bright background.
- Use soft, large light. A window with a thin curtain or a lamp bounced off a white wall looks far better than a small, bright bulb pointed at your face.
- Keep the light slightly above eye level and to one side. This gives your face some shape instead of a flat, washed-out look.
- Avoid mixed colour temperatures. Warm ceiling bulbs plus cool daylight make skin look odd. Turn off the light that fights the main source.
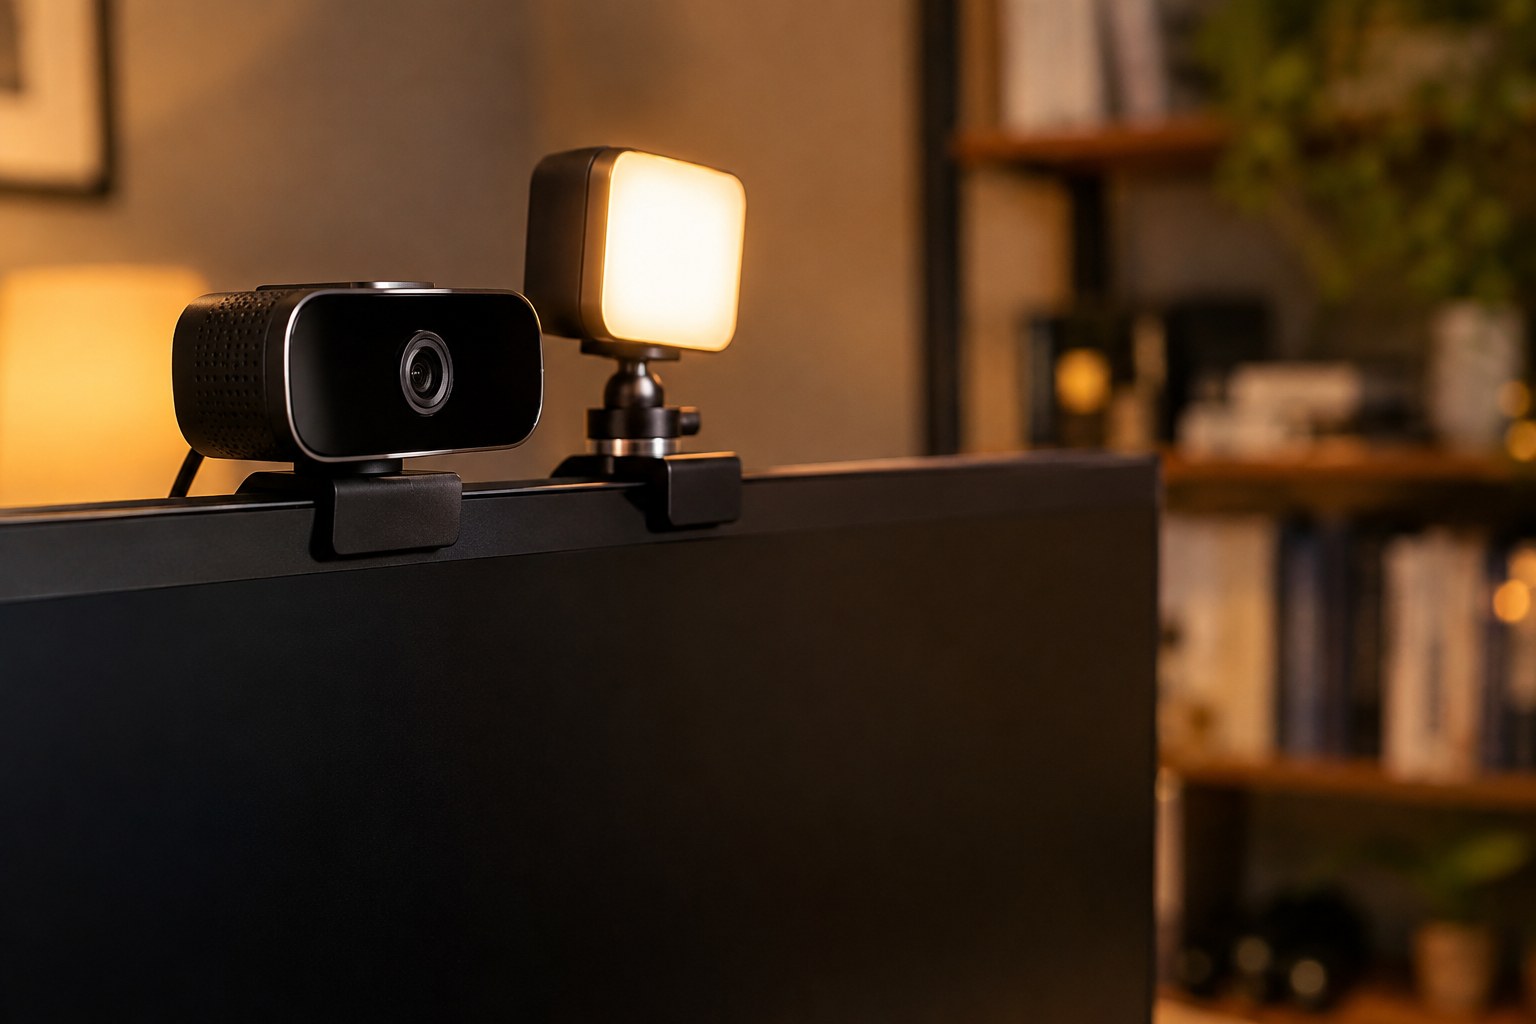
If you take calls in the evening or your desk faces a wall, a small LED panel is the best upgrade you can buy. Look for one with adjustable brightness and colour temperature, mounted on a desk clamp or arm. Elgato's Key Light Air is a common choice among streamers and remote workers, and similar panels from other brands work the same way. Set it behind and slightly above your monitor, diffuse it if possible, and keep the brightness lower than you think.
Use the camera you already own first
If you work on a Mac and have a recent iPhone, Continuity Camera lets you use the iPhone's rear camera as a webcam in apps like Zoom, Google Meet and FaceTime. The phone's camera is far better than most laptop cameras. You need a simple mount that clips to the top of your laptop or monitor.
The trade-offs are small: the phone needs to be charged and nearby, and it is not available for other things during the call. For many designers, this is all the camera they need.
When a dedicated webcam makes sense
A dedicated webcam is worth it if you are on calls every day, use a desktop setup with a closed laptop, or want the camera to just work without setup. The Logitech MX Brio is a good example of the current high end: it records up to 4K at 30 frames per second or 1080p at 60, and launched at $199.99. Most video calls are compressed to 1080p or lower anyway, so the extra resolution mainly helps with cropping and framing, not sharpness on the other side.
When you compare webcams, check these in order:
- Low-light performance, from reviews with sample footage, not from the spec sheet.
- Field of view. Wide angles show more of your room. A narrower view, around 70–80 degrees, is usually more flattering for one person.
- Software controls for exposure, white balance and focus, so the camera stops adjusting itself mid-call.
- Privacy shutter and a solid mount.
Sound is what clients remember
People will forgive soft video. They do not forgive echoing or muffled audio, because it makes them work to understand you. Laptop microphones pick up keyboard noise, fan noise and room echo.
The simplest fixes, in order of cost:
- Wired or wireless earbuds with a microphone. Cheap, close to your mouth and they remove echo from your speakers.
- A USB microphone placed close to you, just outside the camera frame. Distance matters more than brand: closer means clearer.
- Soften the room. A rug, curtains, a bookshelf or a sofa behind you reduce echo more than any software filter.
Most call apps also have noise suppression. Keep it on, but do not rely on it to fix a bad room.
Framing and background
Put the camera at eye level. A laptop on a desk looks up your nose and makes you look smaller. Stack it on books or use a laptop stand. Leave a little space above your head and frame from mid-chest up.
For the background, aim for calm and real rather than staged. A shelf with a few objects, a plant or a framed print reads as a working studio. Avoid virtual backgrounds for client calls: the edge artefacts around your hair and hands look worse than a slightly messy real room. If you need privacy, a light background blur is fine.
Screen sharing is part of the setup
For designers, the most important part of the call is often the screen share. A few habits help more than any hardware:
- Share a single window, not your whole screen, so notifications and other clients' work stay private.
- Turn on Do Not Disturb before the call.
- Zoom your Figma or Framer canvas so text is readable after compression. What looks crisp on your monitor arrives soft on a client's laptop.
- Close heavy apps if your fans start spinning, because fan noise reaches the microphone.
A simple budget plan
If you want to upgrade step by step, this order gives the most improvement per dollar:
- Rearrange your desk to face the window and raise the camera to eye level. Free.
- Use earbuds with a microphone. Low cost.
- Add a soft LED panel for evening calls.
- Use your iPhone with Continuity Camera, or buy a dedicated webcam if you are on calls daily.
- Add a USB microphone if you also record walkthrough videos for clients.
Conclusion
A good call setup is not about owning the best webcam. It is about light from the front, a camera at eye level, clear sound and a tidy screen share. Fix those four things and you will look and sound more prepared than most people on the call, which is exactly what a client wants to see before they hire you.