How to light your desk for long design sessions
Monitor light bars, desk lamps, bias lighting and colour temperature: how to light a design desk that is easy on your eyes and fair to your colours.
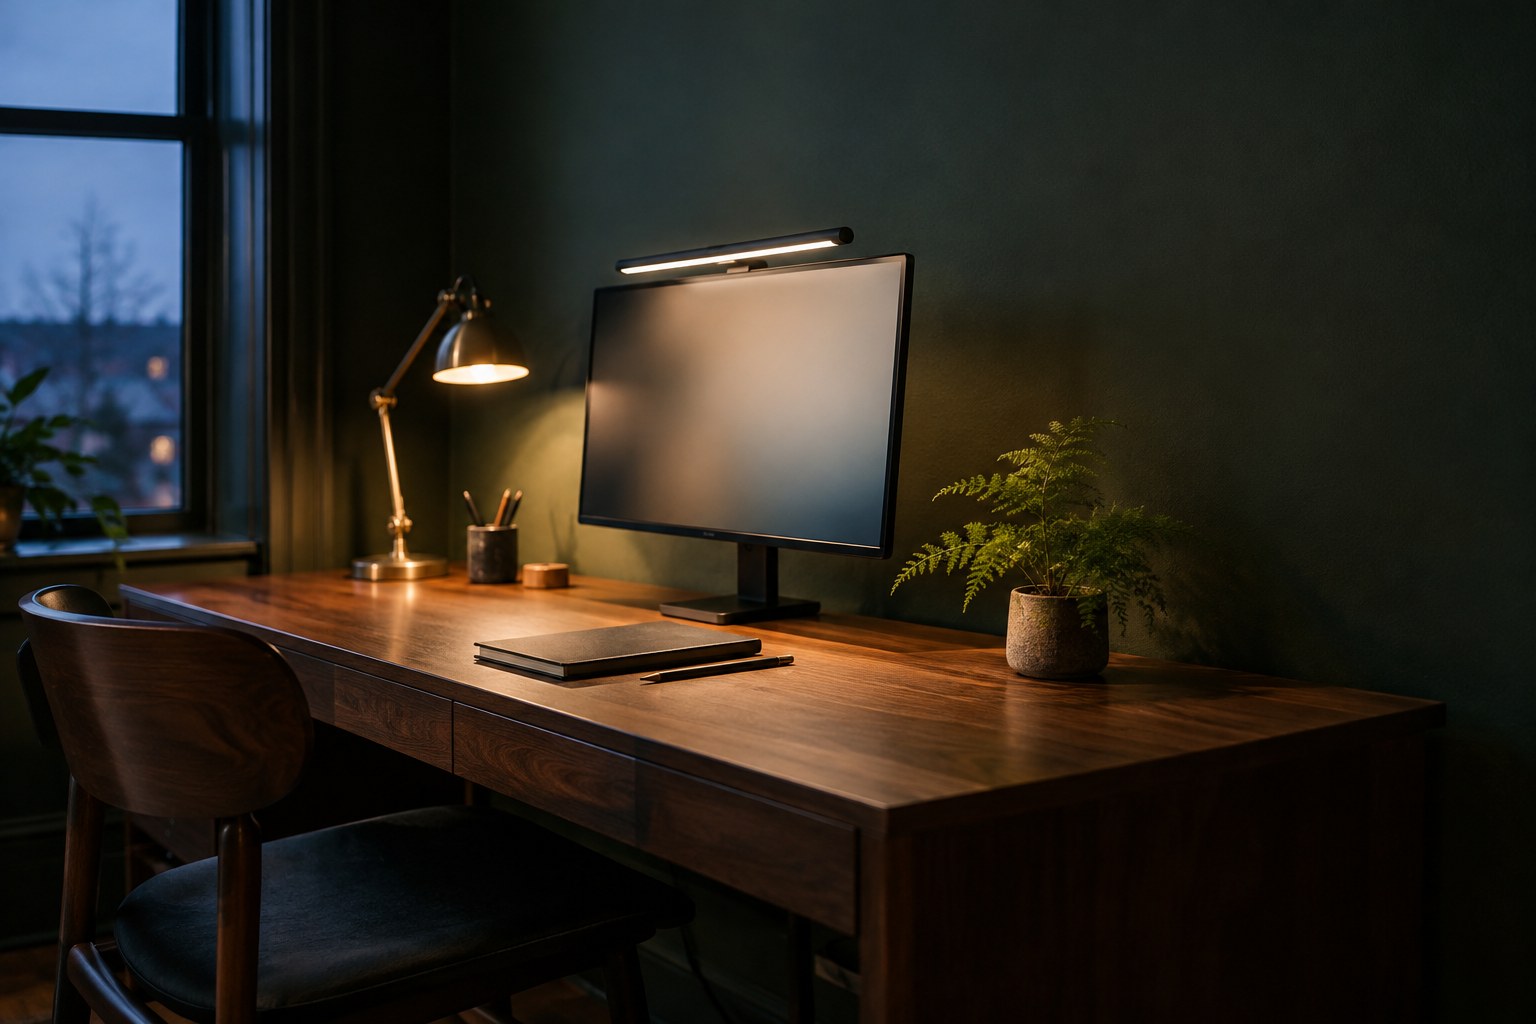
Most designers spend real money on a monitor and almost nothing on the light around it. Then they wonder why their eyes feel dry by mid-afternoon, why the screen looks harsh at night, and why the colours they picked look different on a client's phone the next morning. The light in your room is part of your display setup, whether you plan it or not.
This guide walks through how to light a design desk on purpose: what each light source is for, what to look for when you buy, and a few simple setups that work in small rooms and shared spaces. You don't need a studio budget. You need the right light in the right place.
Why desk lighting matters for design work
Your eyes adjust to the brightest thing in view. When the screen is the only bright surface in a dark room, your pupils keep reacting to the jump between a glowing panel and a black wall. That contrast is tiring over hours, and it also changes how you judge colour and contrast on screen. A design that looks balanced at midnight in a dark room often looks muddy or washed out in daylight.
Good lighting does three jobs:
- Reduces strain by narrowing the gap between screen brightness and room brightness.
- Lights your desk so you can sketch, read notes and find things without turning the monitor brighter.
- Keeps colour judgement steady by giving you consistent, neutral light from day to night.
Think in three layers
The easiest way to plan is to split light into layers, each with one job.
- Ambient light fills the room. A ceiling light, a floor lamp bounced off a wall, or daylight from a window.
- Task light lights the desk surface where your hands, notebook and keyboard are. A monitor light bar or a desk lamp.
- Bias light sits behind the monitor and softly lights the wall, so the screen isn't floating in darkness.
You don't need all three at full strength. In the day, a window may cover ambient light alone. The point is never to leave the monitor as the only light in the room.
Monitor light bars: the most useful upgrade
A monitor light bar clips to the top of your screen and throws light down onto the desk at an angle that doesn't hit the screen. That angle is the whole point: you get a lit desk without glare on the panel, and it takes up no desk space.
When you compare them, check these things:
- Asymmetric optics. Good bars aim light forward and down, away from the screen. Cheap ones spill light onto the panel and create a glare band at the top.
- Adjustable colour temperature. A range from warm (around 2700K) to cool (around 6500K) lets you match the room through the day.
- High CRI. Look for a colour rendering index of 90 or above, so paper swatches, fabric and printed proofs look true under it.
- Fit with your monitor. Curved, very thin or webcam-topped monitors need a compatible clamp. Check the brand's compatibility notes before you buy.
- A physical control. A dial or remote you can reach without thinking is used far more than a setting buried in an app.
Budget bars cost a fraction of premium ones and do the basic job. At the higher end, models like the BenQ ScreenBar Halo 2 (around $180 at launch) add a rear light for the wall behind the screen and a wireless controller, which covers both task and bias light in one product. Read a couple of independent reviews before paying for extras.
When a desk lamp makes more sense
A light bar lights a strip in front of the screen. If you sketch on paper, review printed work or use a drawing tablet off to the side, an articulated desk lamp gives you more control.
- Place it on the side opposite your drawing hand so your hand doesn't cast a shadow over the page.
- Aim it at the desk, not at you and not at the screen.
- Choose a diffused head over a bare bright point. A small, intense spot creates hard shadows and reflections on glossy paper.
- Use the same CRI rule as above. A lamp with poor colour rendering will make paper samples look wrong.
Many designers use both: a light bar for screen work and a lamp that comes on only for sketching or checking prints.
Bias lighting behind the screen
Bias lighting is a soft glow on the wall behind your monitor. It lowers the contrast between the screen and its surroundings, which makes long evening sessions more comfortable. It can be an LED strip on the back of the monitor, a rear-facing light on a light bar, or a small lamp placed behind the desk.
Keep it simple:
- Use a neutral white close to your screen's white point (around 6500K for most monitors set to sRGB). Coloured RGB glows look fun but shift how you see colour on screen.
- Keep it dim. It should be noticeably darker than the screen, not compete with it.
- Bounce it off a light, neutral wall. A bright green or orange wall reflects tinted light back at you.
Colour temperature through the day
Daylight changes a lot: cool and bright at midday, warmer in the evening. Matching your desk light to the time of day makes the room feel more natural and helps you wind down at night.
A simple routine:
- Morning and midday: neutral to cool light (around 5000–6500K), higher brightness, especially if the window light is weak.
- Late afternoon: drop to neutral (around 4000–5000K) as daylight fades.
- Evening: warmer task light (around 3000–3500K) at lower brightness, plus a dim bias light.
There is one exception. When you are making final colour decisions, especially for print, switch to neutral daylight-balanced light. The print industry's viewing standard, ISO 3664, uses D50 light (about 5000K) for comparing proofs. Warm evening light is fine for layout and copy, but not for signing off a brand palette.
Windows, glare and where the desk goes
Placement fixes more problems than any product. A few rules that hold in almost every room:
- Put the window to your side, not behind the screen and not behind you. A window behind the monitor makes you squint; a window behind you reflects in the panel.
- Use sheer curtains or blinds to soften direct sun. Hard sunlight across the desk ruins contrast on any screen.
- Avoid ceiling lights directly above or behind you. They often show up as reflections in glossy displays.
- Prefer a matte or nano-texture screen if you can't control the room, such as a shared office.
If you only change one thing, move the desk so the window is beside you. It costs nothing and removes most glare.
Three setups at different budgets
Minimal: desk beside the window, a budget monitor light bar, and one warm floor lamp in the corner for evenings. This covers most people.
Comfortable: a light bar with adjustable temperature and a rear light (or a separate neutral LED strip), plus a diffused desk lamp for sketching. Good for long days and late work.
Colour-critical: everything above, plus controlled daylight-balanced lighting at around 5000K for proof checks, neutral grey or white walls near the desk, and a calibrated monitor. Worth it if you sign off print, packaging or brand colour regularly.
The short version: treat light as part of your workstation. Give the room some ambient light, put a task light on the desk that doesn't hit the screen, add a soft neutral glow behind the monitor, and move the desk so windows sit to your side. Then switch to neutral light whenever colour decisions matter. Your eyes will last longer through the day, and the work you send out will look the way you intended.