How to choose a portable monitor for design work
What to check before buying a portable monitor for design work: size, colour accuracy, OLED vs IPS, USB-C power and weight.
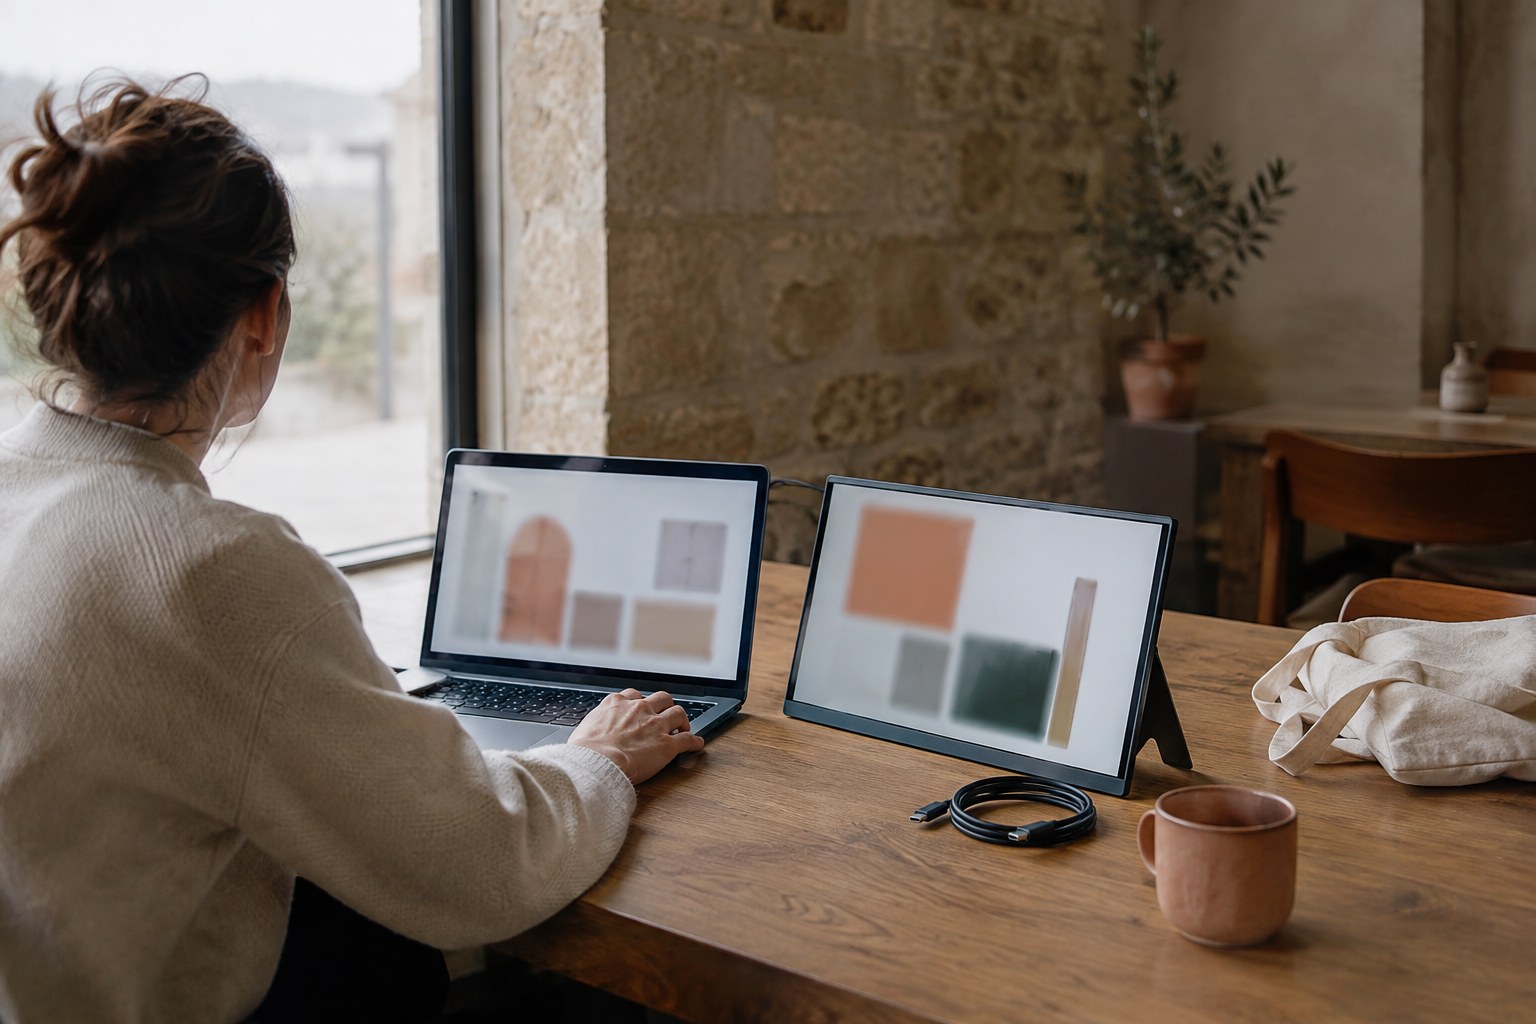
A laptop screen is fine for email, but it gets tight the moment you open Figma with layers on the left, properties on the right and a prototype preview somewhere in between. If you work from cafés, client offices, co-working desks or trains, you have probably wished for a second screen that fits in your bag.
Portable monitors solve that, but the category is messy. Spec sheets mix honest numbers with marketing claims, and the cheapest models can quietly hurt your colour work. Here is how we would choose one for design work, what to check before buying, and a few current models that show the trade-offs clearly.
Decide what the second screen is for
Before you compare panels, be clear about the job. Most designers fall into one of three groups:
- Extra workspace: you want panels, references, Slack or a browser preview off your main screen. Size and resolution matter more than colour accuracy.
- Colour-sensitive work: you edit photos, build brand palettes or check client assets on the go. Gamut coverage, calibration and panel type come first.
- Client presenting: you turn the screen towards someone across the table. Brightness, viewing angles and a stable stand matter most.
If you only need extra workspace, a mid-range IPS panel will do. If colour is part of your deliverable, spend the extra money on a panel with a published calibration report.
Size and resolution: aim for 16:10
Most portable monitors sit between 14 and 16 inches. A 15.6-inch 1080p panel is the common baseline, but for design tools a 16:10 shape is more useful than 16:9 because you get extra vertical room for layer lists and long frames.
The ASUS ZenScreen OLED MQ16FC, for example, is a 16-inch 1920×1200 OLED panel in a 16:10 shape. If you want more pixels, the Mobile Pixels Duex Float 2 Pro offers 2560×1600 at 16 inches with a 120Hz refresh rate. 4K portable panels exist too, but on a 15–16 inch screen you will run them scaled, so the benefit is sharper text rather than more workspace.
Colour: read the gamut claim carefully
This is where spec sheets get slippery. A few rules help:
- Look for a named colour space. "100% DCI-P3" or "100% sRGB" is a real claim. "1.07 billion colours" or "vivid colour" on its own tells you very little.
- Prefer a factory calibration report. Gamut coverage tells you how many colours a screen can show; Delta E tells you how accurately it shows them. A Delta E under 2 is generally considered hard to tell apart from the target by eye.
- Be wary of budget panels with no published gamut. Some cheap IPS models use 6-bit panels with dithering, which is fine for documents but unreliable for colour work.
The ViewSonic ColorPro VP16-OLED is a good reference point: a 15.6-inch 1080p OLED with 100% DCI-P3, 10-bit colour, factory calibration with a report, and a stated Delta E under 2. Fstoppers listed it at $299.99 at B&H in its 2026 guide. By contrast, the same guide notes that some popular portable screens advertise 100% Adobe RGB without any factory colour report, which makes the number hard to trust.
Treat a portable monitor as a second opinion on colour, not the final word. Do final colour checks on a calibrated desk monitor or on the device your audience will use.
OLED or IPS?
OLED portable monitors have become common and affordable. They give deep blacks, high contrast (often quoted around 100,000:1) and wide gamut in a thin body. For UI work in dark mode, they are a pleasure to use.
The trade-offs are real, though:
- Burn-in risk: static UI such as toolbars and docks can leave traces over time. Some makers address this directly; Fstoppers notes that the ASUS ZenScreen OLED MQ16AHE comes with a three-year warranty that explicitly covers burn-in.
- Glossy screens: most OLED portables are glossy, which is harder to use near bright windows.
- Brightness: many portable panels sit around 300–400 nits, which is fine indoors but weak outdoors or in sunny rooms.
IPS panels avoid burn-in and often come with matte coatings. If you leave Figma open for eight hours a day on the same layout, an IPS screen with good gamut coverage may be the calmer choice.
Ports and power: one cable is the goal
The best portable setup is a single USB-C cable from laptop to monitor carrying both video and power. Check three things:
- USB-C with DisplayPort Alt Mode. Without it, your laptop cannot send video over USB-C. Most modern MacBooks and many Windows laptops support it, but check your own machine.
- Pass-through charging. If the monitor has two USB-C ports, you can plug the charger into the monitor and let it power your laptop. The Duex Float 2 Pro supports 65W pass-through, and the VP16-OLED lists 40W power delivery over USB-C. If your laptop needs more than the pass-through figure, it will charge slowly or drain under load.
- A backup port. A mini HDMI port is useful for older client machines or when you need to plug in a camera or tablet. The MQ16FC has two USB-C ports plus mini HDMI.
Also check the cable that comes in the box. A short or low-spec cable is a common reason a monitor works at home but flickers in a meeting room.
Stand, weight and build
You will carry this every day, so weight matters. The lighter OLED models in current guides sit around 700 grams, while sturdier colour-focused panels approach a kilogram. The ASUS ProArt Display PA169CDV, which pairs a 4K panel with a bundled pen, weighs about 1.07 kg.
Look at the stand too. A built-in kickstand is faster and steadier than a folio cover. A 1/4-inch tripod thread is a small detail that pays off when a table is too cramped and you need to mount the screen higher.
Pen and touch: only if you sketch
A few portable monitors include a stylus. The PA169CDV comes with a battery-free Wacom EMR pen with 4,096 pressure levels, which makes it a mixed second screen and drawing surface. That is useful if you sketch wireframes or retouch on the go, but you pay for it in weight and price. If you already own an iPad, Sidecar or a similar app may cover the same need.
A quick buying checklist
- Pick the job first: workspace, colour or presenting.
- Choose 16:10 if you can; 1920×1200 at 16 inches is a good baseline.
- For colour work, require a named gamut and a factory calibration report.
- Check USB-C DP Alt Mode on your laptop and pass-through wattage on the monitor.
- Weigh it against your bag. Anything near 1 kg will feel it by Friday.
- For OLED, check the burn-in warranty terms before you buy.
Conclusion
A portable monitor is one of the cheapest ways to make remote design work less cramped. Start from what you need the screen to do, ignore vague colour claims, and make sure one USB-C cable can carry video and power from your laptop. Prices and models change quickly, so check current listings and reviews before you buy. Sources: Fstoppers portable monitor guide 2026, Notebookcheck on the ASUS ZenScreen OLED MQ16FC.