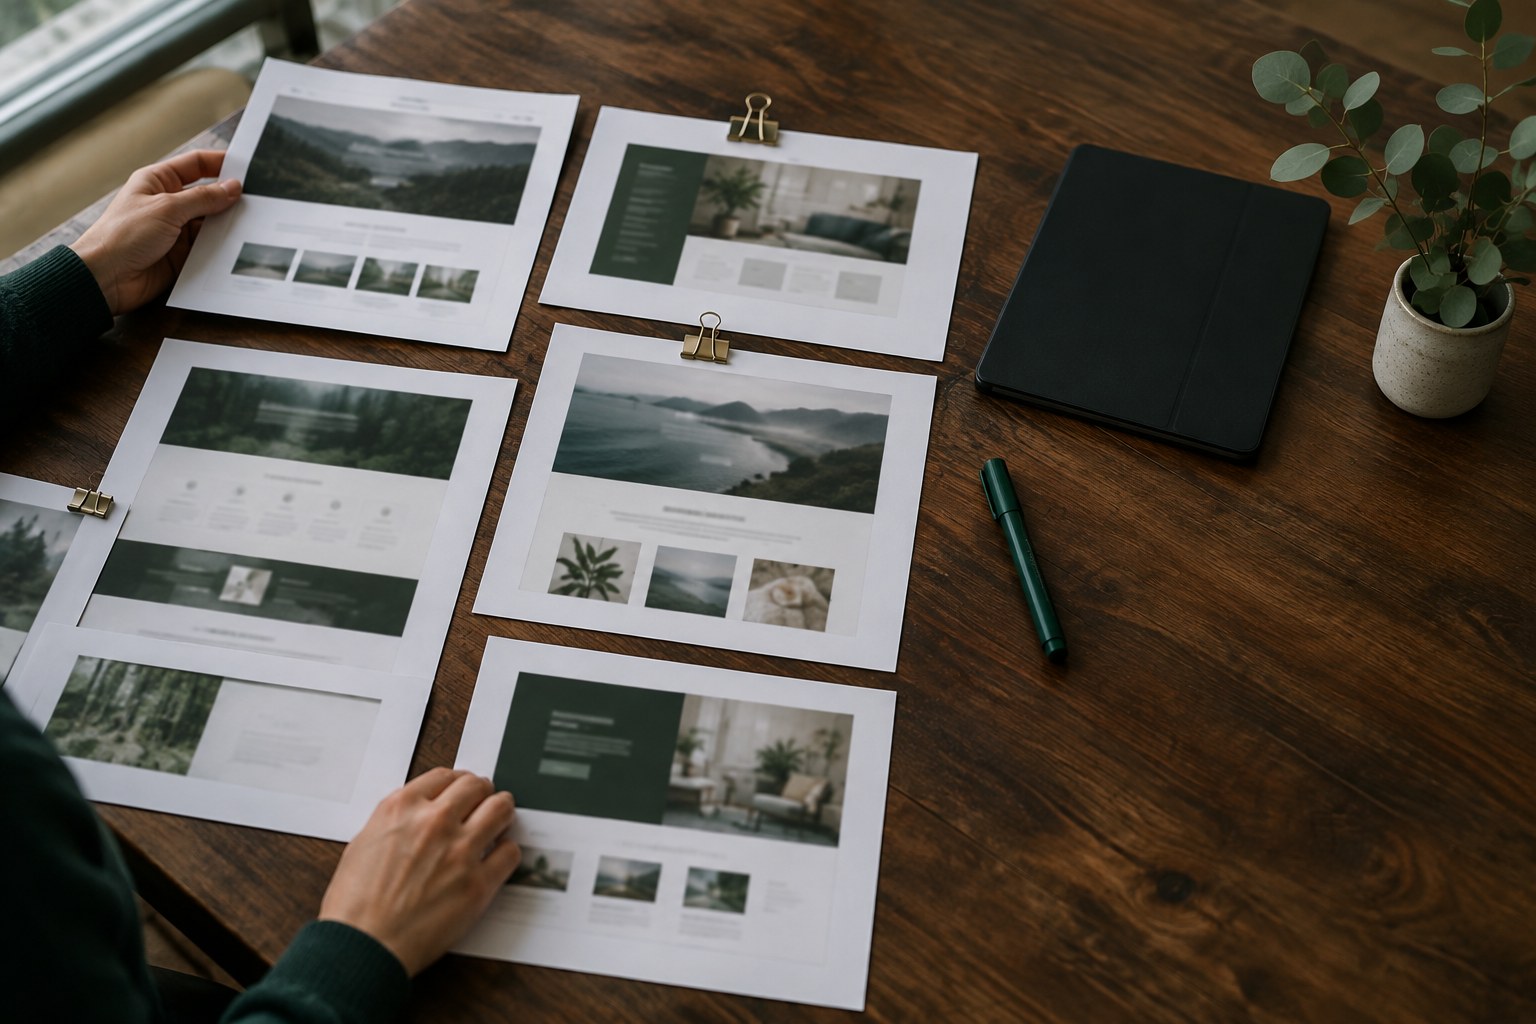
How to build a CMS-powered blog in Framer
A step-by-step plan for a Framer blog that clients can update themselves: collection fields, the post template, the index page, categories and SEO.
A blog is one of the most common requests on a Framer project, and one of the easiest to get wrong. The first version usually looks great with three sample posts. Six months later, the client has added thirty more, the index page is a long scroll with no structure, some covers are cropped badly and nobody remembers which fields are required.
The fix is to plan the blog as a small content system, not a single page. This guide walks through how we set up a CMS-powered blog in Framer: the collection, the fields, the post template, the index page, categories and the SEO settings that make it worth publishing.
Plan the content before you open Framer
Start with a short list of what every post needs. Look at the client's existing articles, or at two or three blogs they admire, and write down the parts that repeat. For most blogs, that list is short:
- Title and slug
- Publish date
- Cover image
- Short summary for cards and search results
- Category
- Body content
- Optional author
Resist adding fields "just in case". Every extra field is something the client has to fill in, or something that shows up empty on the page.
Set up the collection and fields
Create a CMS collection called "Blog" or "Posts" and add a field for each item on your list. Pick field types carefully, because they decide what the client can and cannot break:
- Title as plain text, and let the slug come from it.
- Date as a date field, so you can sort posts reliably.
- Cover as an image field. Decide on one aspect ratio, such as 3:2, and tell the client.
- Summary as plain text. Keep it short so it fits cards and meta descriptions.
- Category as an option field for a small fixed list, or as a reference to a separate Categories collection if categories need their own pages and descriptions.
- Body as formatted text, which supports headings, lists, links and images.
Add two or three realistic sample posts right away, with long and short titles. Designing with real content is the fastest way to catch layout problems.
Design the post template
The collection's detail page is the template for every post. Connect the title, date, cover, category and body to the matching fields. Then spend most of your time on the body, because that is where readers stay:
- Line length. Keep body text to roughly 60–75 characters per line on desktop.
- Heading styles. Style H2 and H3 inside the formatted text so headings stand out but do not shout.
- Spacing. Give paragraphs, lists and quotes consistent spacing so long posts feel calm.
- Images. Make sure inline images fill the content width and never overflow on mobile.
Add a small "related posts" section at the end, using a collection list filtered by the same category and limited to three items. It keeps readers on the site without extra work from the client.
Build the blog index page
The index page is a collection list of cards. A few decisions make a big difference once the blog grows:
- Sort by date, newest first. Do not rely on manual ordering.
- Use one card component with variants for featured and regular posts, so styling stays consistent.
- Limit the first view. Show a set number of posts and use the collection list's pagination or a "load more" pattern rather than one endless list.
- Feature the latest post with a separate list limited to one item, if the design calls for a large hero card.
Add categories that help readers
Categories are useful when there are at least a handful of posts in each. With too many categories, each one feels empty. Three to six is a good range for most small blogs.
The simplest approach is a row of category links above the index, each pointing to a page that shows a collection list filtered to that category. If you used a Categories collection, you can make a category detail page that works as a template for all of them, with its own title and description for SEO.
Design the blog for post number forty, not post number three. Most layout problems only appear once there is real volume.
Get SEO and sharing right
A blog is usually there to bring in search traffic, so the template needs proper metadata:
- Set the page title on the post template to use the post title plus the site name.
- Use the summary field for the meta description.
- Use the cover field for the social sharing image, so links look good when shared.
- Keep slugs short and readable, and avoid changing them after publishing. If you must, add a redirect.
Check that the blog pages are included in the sitemap and that the index page has its own title and description.
Hand it over so the client can run it
A CMS blog is only useful if the client is comfortable publishing. Before handoff, write a short guide covering the cover image size, the ideal summary length, how to pick a category and how to preview a draft. Record a two-minute video of you publishing a post from start to finish. It will save you a dozen support emails.
Conclusion
A good Framer blog is a small system: a focused set of fields, a carefully designed post template, an index that scales, and SEO settings tied to the content. Plan the fields first, design with realistic posts, and build for the blog the client will have in a year. Then hand it over with clear instructions, and the blog keeps working long after launch.